How to Create Digital Resources: Cover Image (Part 6)

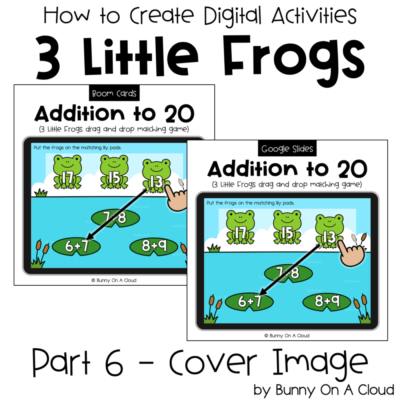
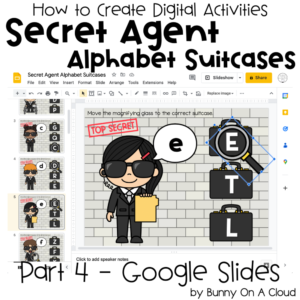
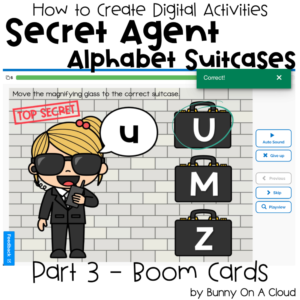
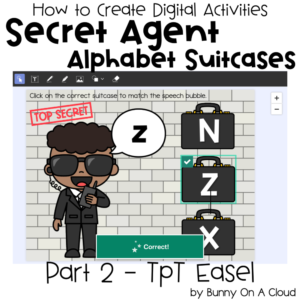
This is the cover image that your customers are going to see when scrolling through TpT or the Boom Cards marketplace.


Creating the Cover Image
1. Start from Template
Like in Part 5, definitely have a template for this that you can use over and over again for each deck that you create.

2. Add screenshot or Instruction Card
A screenshot of the activity in action would be great here. Otherwise, you can just copy and paste the Instruction Card that you created in the previous post.

3. Add title and subtitle
If you name your activity a cute name like “3 Little Frogs”, you may not want to put it as the biggest title because it does not tell other teachers what they can assign this for.
Instead, put the skill as the biggest title, so that teachers know immediately know what this deck can do for their students.

4. Add any additional information
Add additional information like
- Store name/copyright
- Grade level
- Shout-outs e.g. “self-checking”, XXX number of task cards
5. Add the correct platform name
In this blog series, we covered TpT Easel, Boom Cards and Google Slides, but there are still other platforms. Add the one that you created for.

6. Export PNG
Jpeg works too.

Where to use your cover images?
1. Boom Cards Deck Details
Under Deck Details in your Boom Cards, add the cover image.

2. TpT Product Cover
This will be the first thing customers see when scrolling through your store page or in the TpT search results.
3. Cover for the final PDF
It’s optional, but if you’d like, you can add this to the front of your Final PDF (see Part 8).
Next Steps
When you are done with this, go on to Part 7 or Part 8!


