How to Create Digital Learning Resources: MCQ (Part 4 – Google Slides)

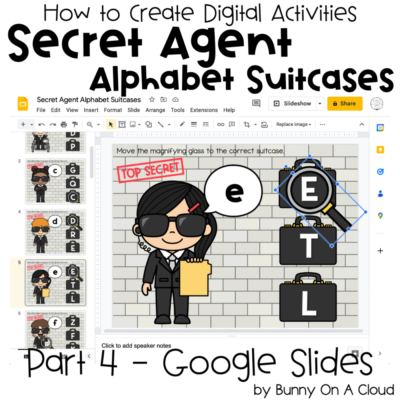
This post will show you how to create this MCQ activity in Google Slides.
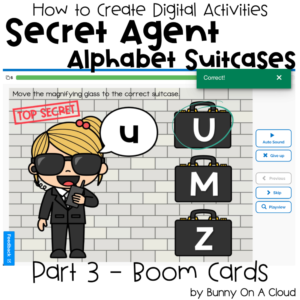
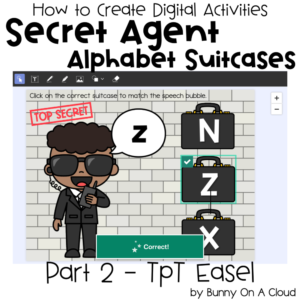
It will be slightly different from the TpT Easel version and the Boom Cards version because in Google Slides, this activity is not self-checking.

Creating the activity in Google Slides
1. Start a new presentation
Go to Google Slides page on the internet browser you are using. Under ‘Start a new presentation’, click on ‘Blank’.

2. Change the slide size.
The default slide size is Widescreen (16:9). But in this case we are going with Standard 4:3. Use the size that you created your flat backgrounds in.
Go to File > Page setup, and choose Standard 4:3 from the dropdown menu.

3. Add backgrounds
Delete all the default text boxes that are on the slide. Click on ‘Background’. It’s on the sub toolbar on the top.
Click Image > Choose Image, then select the first flat background created in Part 1.
Remember to use the alternative flat backgrounds that we made specially for Google Slides (the directions are slightly different from the ones for TpT Easel and Boom Cards).

4. Insert new slides to add in all the remaining flat backgrounds
After adding in the first background image, insert a new slide.
On that new slide, add background again (repeat step 3). Do this until all 26 flat backgrounds created in Part 1 has been added.

5. Add the magnifying glass clipart
Go to Insert > Image, then add in the magnifying glass clipart that was decided on in Part 1.

6. Format the movable clipart
Resize the magnifying glass clipart and rotate it to nicely frame over the letters on the suitcases.
In this example the parameters are:
- Width: 5cm
- Height: 8.23 cm
- Rotate (at) angle: 315 degrees

7. Add drop shadow to the movable clipart
It is optional to add drop shadow to the movable clipart, but it’ll be nice to make it stand out a little more.
With the movable piece selected, click on “…” (more) in the sub toolbar and select Format Options. Check the box on Drop Shadow.

8. Find a spot to park the movable clipart
Anywhere will do. On hindsight, it could have been a good idea to create a holding area for the magnifying glass somewhere on the background, but it’s not a 100% necessary.

9. Copy and paste the magnifying glass clipart into every slide
The magnifying glass will be in the same location on every slide.

10. Test out the activity!
Try completing the entire activity like a student would to ensure everything is as you’d want it to be.

11. Rename the Google Slides
Once you’re done testing out the activity, rename the slides.

Next Steps
Try creating this activity in another platform: TpT Easel | Boom Cards
Or go right to creating the supporting parts for your digital resource:
- Instruction Card (Part 5)
- Cover Image (Part 6)
- Product Preview (Part 7)
- Final PDF (Part 8)


