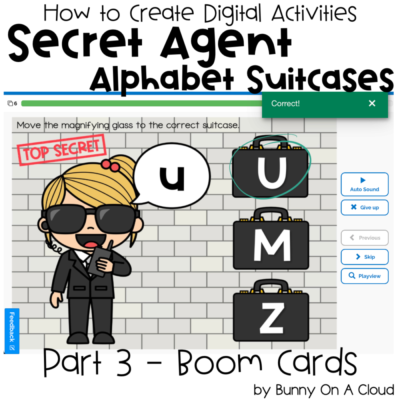
How to Create Digital Learning Resources: MCQ (Part 3 – Boom Cards)

Play this deck in the here!
This is part 3, and is a continuation from Part 1 – Preparations where the parts needed for this post was created.
Boom Learning is a cool platform that allows you to create interactive and self-checking digital learning resources. It’s free to get started, but you’ll need a Publisher membership if you want to sell the Boom Cards that you’ve created. (This is my Boom referral link if you are not on Boom Learning yet).

Creating the activity in Boom Cards
1. Add a new deck
On to the Boom Learning website,
- Go to Studio Tab
- Click on Make Decks.

That brings you to the Deck Manager page, and now click the New Deck blue button.

2. Add new cards from images
In the left thumbnails column, look for the ‘New cards from images’ button and click it.

3. Add all the flat backgrounds
Upload all of the 26 flat backgrounds created in Part 1.
Adding the backgrounds in small batches might be a good idea here so that you can divide and conquer. Because the backgrounds will be uploaded out of order, and subsequently, dragging around 26 slides to rearrange them can be tedious.

4. Add a button
Next, drag the ‘BUTTON’ box into the deck area (dark blue boxes in the left column toolbar).

5. Format the button into a transparent rectangle box
First resize the button to about the size of one suitcase and delete the ‘button’ text so that there’s no more text in the box.
Making it transparent
- Set border style to none (bottom 3rd section in the right column toolbar)
- Set background color to no background color (bottom 2nd section in the right column toolbar)
The button has been designated as a ‘correct’ answer by default so it will appear green.

6. Copy and paste the rectangle so that every suitcase gets one
Copy and paste to have 2 more rectangles and arrange them neatly over each suitcase. All 3 rectangles will still have green outlines.

7. Copy and paste the ‘Correct’ rectangles into all 26 cards
Select all 3 rectangles, then copy and paste them into all 26 cards. They should land at the exact same spot in every card.

8. Revisit each page to change the answer options for the ‘Wrong’ suitcases
Hold down the ‘Shift’ key and select the 2 wrongs options in each card, then under ‘Answer Options’, click ‘Wrong’.
Do that for every card.

The boxes for the wrong answers should turn red, while the boxes for the correct answer stay green.

9. Preview and play the entire deck to make sure there are no errors
We are almost done! To be sure there are no errors, play the entire deck from start to finish.

10. Name the activity and fill out all the details for the deck
Add in details that will help buyers know what the deck can do for them!

Next Steps
Try creating this activity in another platform: TpT Easel | Google Slides
Or go right to creating the supporting parts for your digital resource:
- Instruction Card (Part 5)
- Cover Image (Part 6)
- Product Preview (Part 7)
- Final PDF (Part 8)


