How to Create Digital Learning Resources: Multiple Answer MCQs (Part 4 – Google Slides)

This post is a continuation from Part 1 – Preparation. If you haven’t done the preparation parts, head there first!
To create this activity in TpT Easel, check out Part 2.
To create this activity in Boom Cards, check out Part 3.
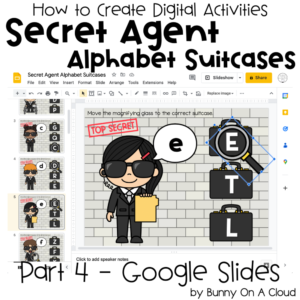
This is Part 4 – creating the activity in Google Slides.
Note: only the TpT Easel and Boom Cards versions of this activity is self-checking. The Google Slides version is not.

Creating the activity in Google Slides
1. Start a new presentation
In Google Slides, under ‘Start a new presentation’, click on ‘Blank’.

2. Change the slide size.
The default slide size is Widescreen (16:9). I’m going to change it because I’m going with 4:3, but you can use whichever dimensions you like.
Go to File > Page setup, and choose Standard 4:3 from the dropdown menu.

3. Add backgrounds
Delete all the default text boxes that are on the slide
Click on ‘Background’. It’s on the sub toolbar on the top.
Click Image > Choose Image, then select the first flat background created in Part 1.

4. Add in all the flat backgrounds
After adding in the first background image, insert a new slide.
On that new slide, add background again (repeat step 3). Do this until all 9 flat backgrounds created in Part 1 has been added.

5. Add in the movable piece
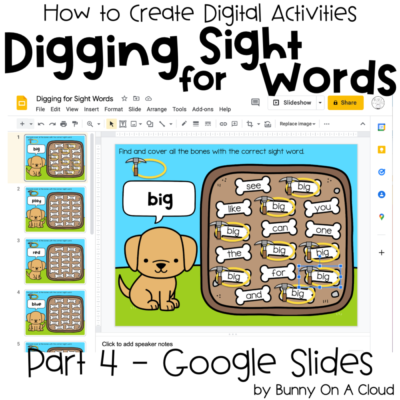
Go to Insert > Image, then add the movable piece (pick axe + oval shape) created in Part 1 into the slide.

6. Resize the movable piece
Make the movable piece the right size to cover the word in each bone.

7. Add Drop Shadow to the movable piece
The drop shadow step is optional, just to make the movable piece stand out more. With the movable piece selected, click on “…” (more) in the sub toolbar and select Format Options. Select the checkbox on Drop Shadow.

8. Copy and paste, then align all the pieces centre and middle
To create a pile of movable pieces that students can use to complete the activity, first make 8 copies of the movable piece.
Then, align them perfectly so it looks like there’s only one movable piece.

9. Find a spot to park the stack of movable pieces
With all the pieces still selected, move the stack to an available corner in your slide.

10. Copy and paste the stack of movable pieces into every slide
Still with the stack selected, copy and paste that same stack into every slide.

11. Test play the activity
The activity is done! Try it out like you’re a student to make sure everything is right.

12. Rename the Google Slides
Once you’re done checking the activity, rename the slides.

Next Steps
Try creating this activity in another platform: TpT Easel | Boom Cards
Or go right to creating the supporting parts for your digital resource:
- Instruction Card (Part 5)
- Cover Image (Part 6)
- Product Preview (Part 7)
- Final PDF (Part 8)


