How to Create Digital Learning Resources: Multiple Answer MCQs (Part 2 – TpT Easel)

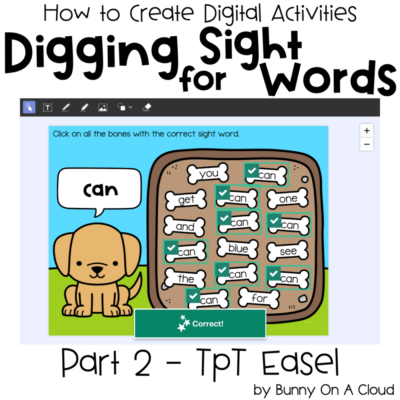
This post is Part 2 of Digging for Sight Words! In the previous post, we created all the flat backgrounds needed to complete this resource.
This part is done on TpT’s Easel website. It’s free, and there’s a free course to help you become an Easel Certified Seller.

Creating the activity in Easel
1. Create a new activity.
Go to Easel by TpT, click on “Create” (blue rounded button), and then select Activity for listing.

2. Start with PDF
In the pop-up box, choose Start with a PDF and upload the flat backgrounds PDF created in Part 1.

3. Import all pages
Check the “Select All” box, and leave the “Add margins” box unchecked.

4. Add a rectangle shape
Click on the shape tool in the toolbar and select the square shape to draw a rectangle.
Make the rectangle about the size of a bone.

5. Remove the border of the rectangle
With the rectangle selected, click on the border (pencil) tool, then click on the “slash” to remove the border from the rectangle.

6. Copy and paste the empty rectangle so that every bone gets one
Copy and paste to make enough rectangles and arrange them neatly over each bone. Minimize any overlap.

7. Mark every rectangle as ‘Correct’
With all the rectangles selected at the same time, click on the check/cross icon on the floating toolbar and click on ‘Correct’.
All the rectangles are now marked as correct and should look green.

8. Copy and paste the ‘Correct’ rectangles into every page
While still selecting all the rectangles, copy and paste them over all the bones in all 9 pages. They should land at exactly the same spot on every page.

9. Revisit each page to change the grading for the ‘Incorrect’ rectangles
Now that every single bone has its own box, go back through every page to change the grading for the ‘Incorrect’ rectangles.

10. View as Student
The activity is almost done! Now check for errors by playing through the entire activity as a student.

11. Name the Activity
When you’ve checked that everything is correct and in place, give the activity a fun, thematic name.

Next Steps
Try creating this activity in another platform: Boom Cards | Google Slides
Or go right to creating the supporting parts for your digital resource:
- Instruction Card (Part 5)
- Cover Image (Part 6)
- Product Preview (Part 7)
- Final PDF (Part 8)


